The MacBook webcam is fine until you actually need it to look good.
If you’re about to join a meeting, record a video, or hop on a call and notice that your camera looks grainy, dark, or washed out, you’re not alone. Even newer MacBooks still ship with webcams that struggle in anything but perfect lighting.
The good news is that you don’t need to buy an external webcam or install third-party software. If you already have an iPhone, you can use it as your MacBook’s webcam with Apple’s built-in feature called Continuity Camera.
This guide shows you exactly how to do that. It walks you through the fastest way to set it up, what to check if it doesn’t work right away, and how to get the best video quality once it’s running. The setup takes about one to two minutes, and you can do it wirelessly.
If you just want the steps, you can jump straight to the setup section below. If you want to understand what’s happening and why it works, keep reading.
What You Need Before You Start
Before moving to the setup steps, it helps to confirm that your devices support the feature. This avoids confusion if something doesn’t appear right away.
You need:
- An iPhone that supports Continuity Camera (most recent models do)
- A MacBook (Pro or Air) running a recent version of macOS
- Both devices signed in to the same Apple ID
- Wi-Fi and Bluetooth turned on
If that’s already true for you, you can move straight to the setup.
How to Use Your iPhone as a Webcam on a MacBook
Below are the exact steps. Follow them in order. No extra configuration is needed.
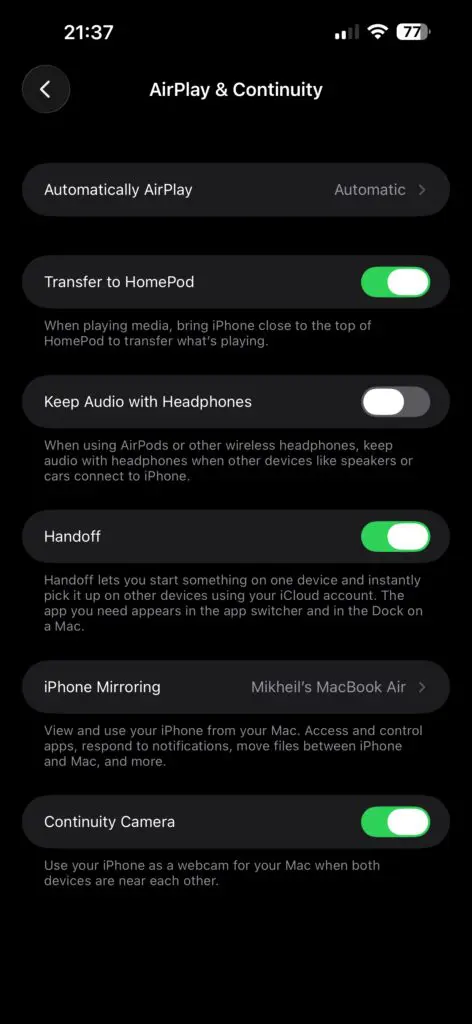
Step 1: Turn On Continuity Camera on Your iPhone
- Open Settings on your iPhone
- Tap General
- Tap AirPlay & Handoff
- Turn Continuity Camera ON
Leave your iPhone unlocked.
Step 2: Make Sure Your Mac Is Ready
On your MacBook:
- Sign in with the same Apple ID as your iPhone
- Turn Wi-Fi ON
- Turn Bluetooth ON
You do not need to enable Continuity Camera in macOS settings.
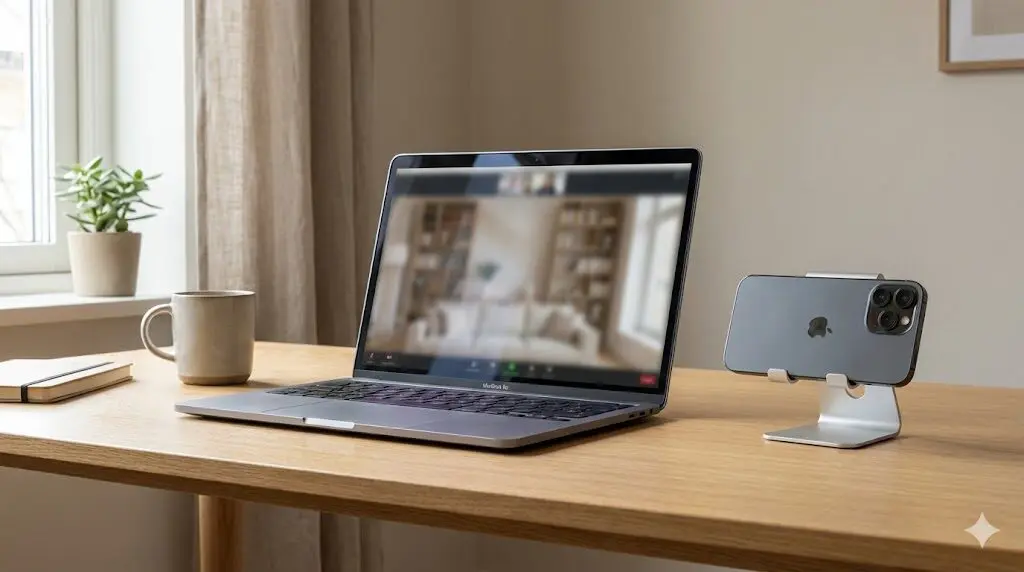
Step 3: Place Your iPhone Correctly
- Place your iPhone near your MacBook
- Position it horizontally
- Point the rear camera toward you
- Keep it stable on a desk or stand
Do not hold the phone in your hand
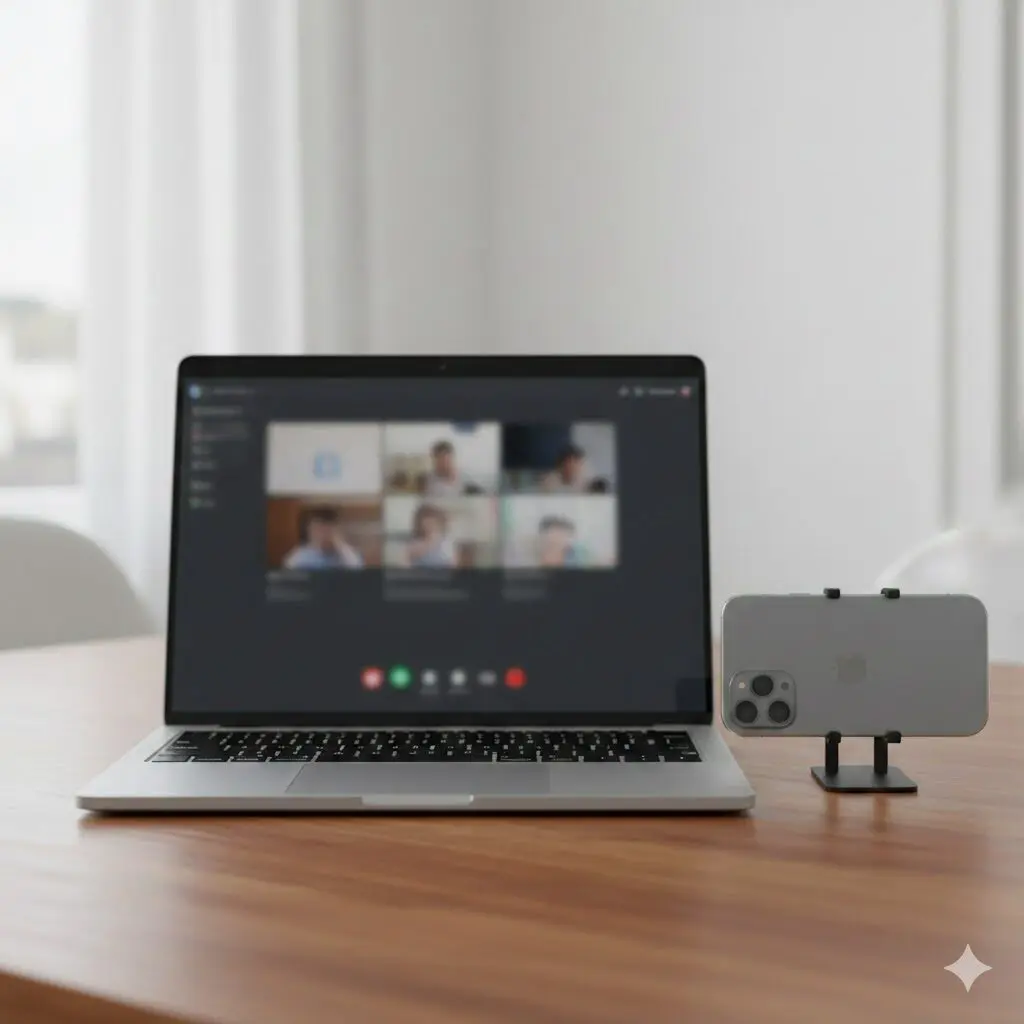
Step 4: Select Your iPhone as the Camera
- Open your video app (Zoom, FaceTime, Google Meet, Teams)
- Open the app’s camera settings
- Select your iPhone as the camera
Your iPhone camera will turn on automatically.
You are now using your iPhone as your MacBook’s webcam.
If It Doesn’t Work Right Away
Most issues come from one small detail being missed. If your iPhone doesn’t show up as a camera, check the following:
- Both devices use the same Apple ID
- Wi-Fi and Bluetooth are turned on
- Your iPhone is unlocked
- Your iPhone is close to your MacBook
- Your iPhone is not already in use by another app
After checking these, close and reopen your video app.
Why Using Your iPhone as a Webcam Works So Well
Apple’s iPhones have some of the best cameras you can get on a consumer device. They’re designed to handle different lighting conditions, keep faces in focus, and adjust exposure automatically, all things that matter when you’re on a video call.
MacBook webcams, on the other hand, are built to be thin and unobtrusive. That trade-off means lower image quality, especially in indoor lighting. This is why many people notice their video looks fine on their phone but noticeably worse on their laptop.
Continuity Camera exists to bridge that gap. Instead of relying on the built-in MacBook camera, macOS simply uses your iPhone’s rear camera as the video source. From the app’s point of view, it’s just another webcam, but a much better one.
Once it’s enabled, it works across most video apps automatically. There’s no pairing process, no drivers, and no separate app to manage.
What Is a Continuity Camera?
Continuity Camera is a built-in Apple feature that lets your Mac use your iPhone as a webcam.
It works wirelessly using Wi-Fi and Bluetooth, as long as:
- Both devices are nearby
- Both are signed in to the same Apple ID
When a video app on your Mac asks for a camera, macOS checks whether an eligible iPhone is available. If it is, the iPhone appears as an option alongside the built-in FaceTime camera.
You don’t need to open the camera app on your phone. You don’t need to start anything manually. The connection happens automatically in the background.
Wireless vs Wired: Which Should You Use?
By default, Continuity Camera works wirelessly, and for most people that’s the best option. It’s fast to set up and reliable enough for meetings and everyday calls.
Using a cable is optional. Plugging your iPhone into your MacBook can make the connection slightly more stable, especially during long calls or recordings. It can also help keep your phone charged.
If you’re just hopping on a meeting, wireless is fine. If you’re recording for a long time, using a cable can be helpful.
Best Settings for Continuity Camera (Optional)
Once your iPhone is working as a webcam, you’ll see additional camera options in macOS. These are optional, but they can improve how you look on camera.
Center Stage
Keeps you centered in the frame as you move. Useful if you shift around while talking.
Portrait Mode
Blurs the background to make you stand out. Works best in good lighting.
Studio Light
Brightens your face and reduces shadows. Helpful in dim rooms, but it can look unnatural if overused.
Desk View
Shows both your face and your desk at the same time. Useful for demonstrations or showing notes.
You can turn these on or off from Control Center on your Mac while the camera is active.
iPhone Video Quality vs MacBook Webcam
In most situations, the difference is obvious.
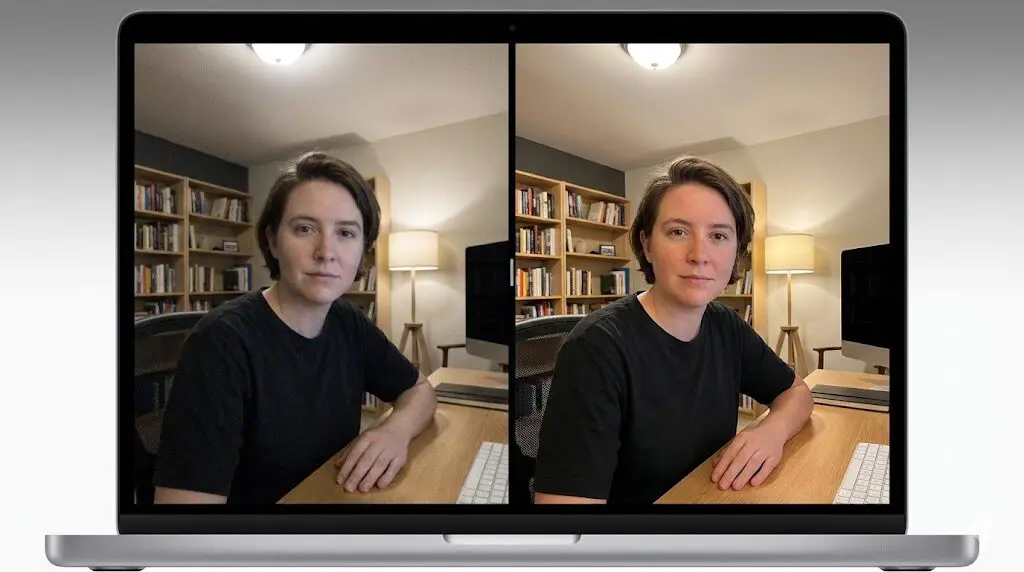
The iPhone camera produces:
- Sharper video
- Better color
- Cleaner image in low light
MacBook webcams tend to look softer and noisier, especially indoors. If video quality matters for meetings, interviews, or recordings, using your iPhone is a noticeable upgrade.
Do You Need a Mount or Accessories?
A mount is not required, but it can make setup easier.
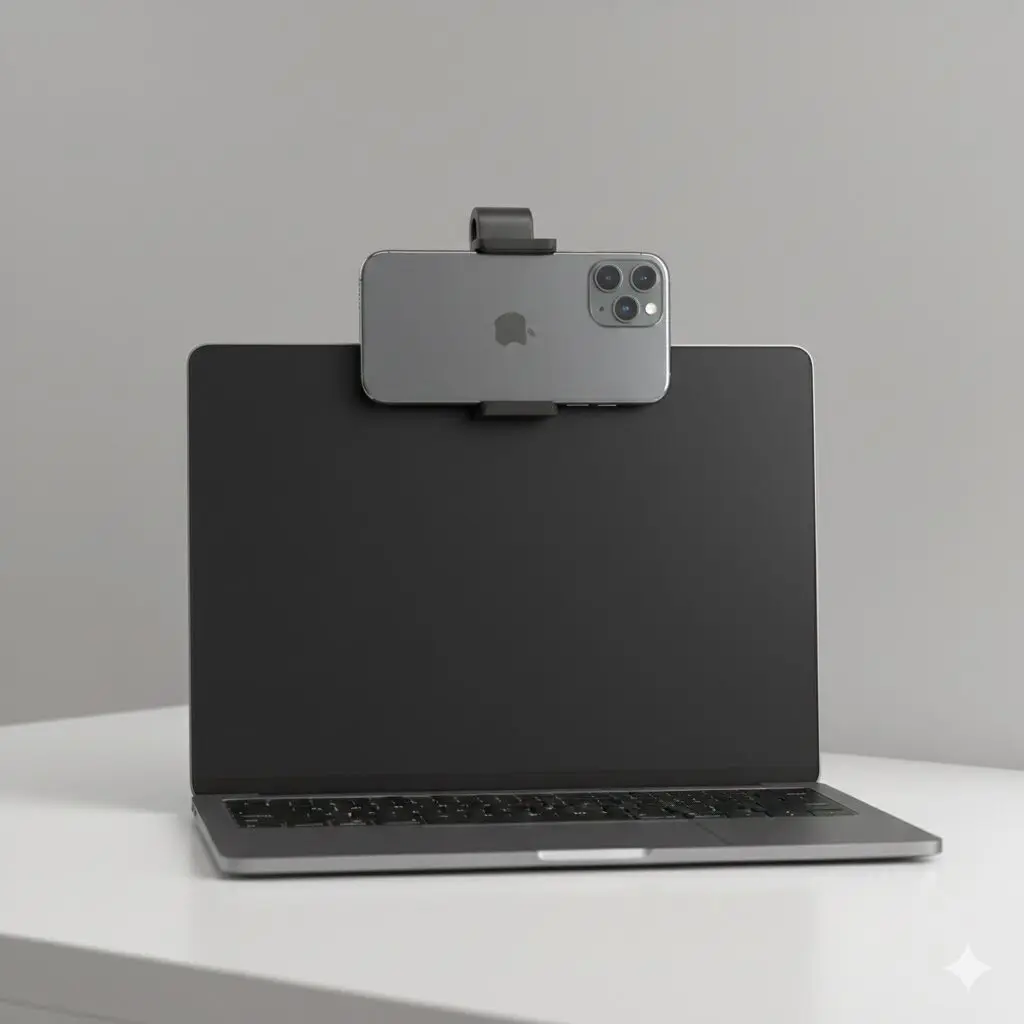
If your phone can sit securely at eye level, you’re fine. If it keeps sliding or sitting too low, a small stand or MagSafe mount helps keep the framing consistent.
Accessories are about convenience, not functionality.
Mac Webcam Alternatives (If Continuity Camera Isn’t an Option)
If your devices don’t support Continuity Camera, there are alternatives:
- Third-party apps like Camo or EpocCam
- Extensions
- External USB webcams
These options work, but they usually require extra setup or additional cost. If Continuity Camera is available to you, it’s the simplest solution.
Final Thoughts
If you already own an iPhone, using it as your MacBook’s webcam is the fastest way to improve video quality.
There’s no software to install, no account to create, and no hardware to buy. Once it’s set up, it works automatically across most video apps.
If your MacBook camera has been holding you back, this is an easy fix you can use right now.
Frequently Asked Questions
Can I use my iPhone as a webcam wirelessly?
Yes. Wireless is the default.
Does this work on MacBook Pro and MacBook Air?
Yes. Both work the same way.
Does it work with an external monitor?
Yes. The MacBook must stay nearby.
Can I use this on Windows?
No. Continuity Camera only works on Mac.